Wall-Mounted Storage Ideas for Renters (No-Drill Options)
Updated September 2026
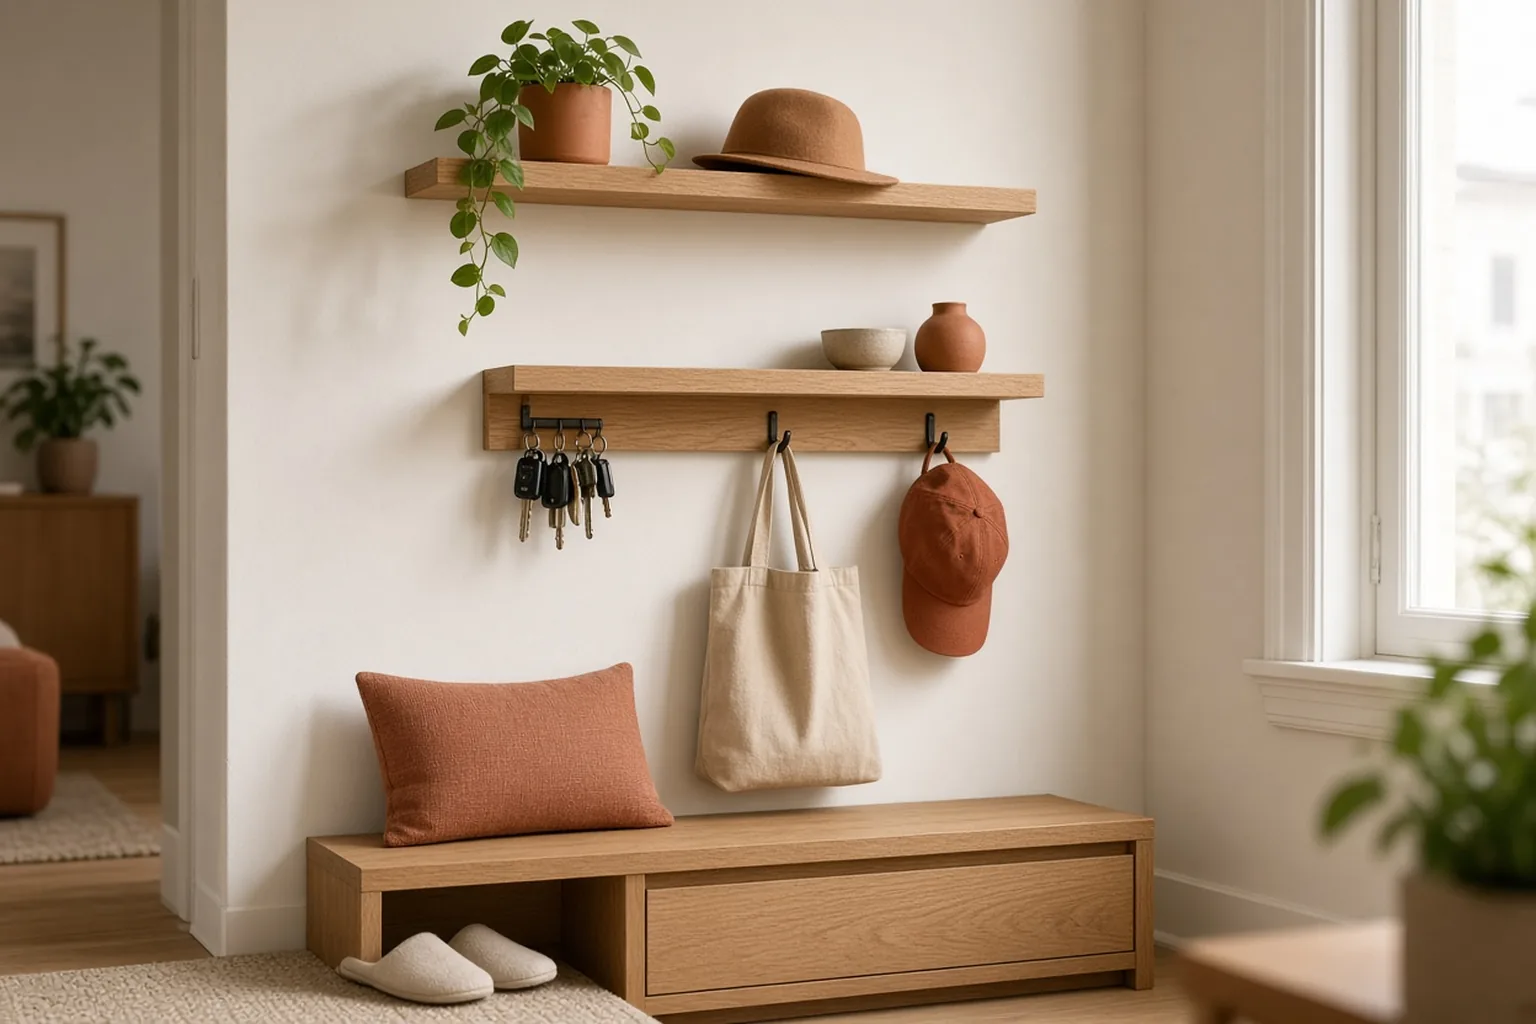
Quick answer: Renting does not mean you have to live with crowded counters, overflowing entryways, or a small bathroom with nowhere to put daily essentials. Wall-mounted storage can free up useful floor space, but drilling into drywall, tile, or a landlord's built-ins may not be allowed.
Top picks at a glance
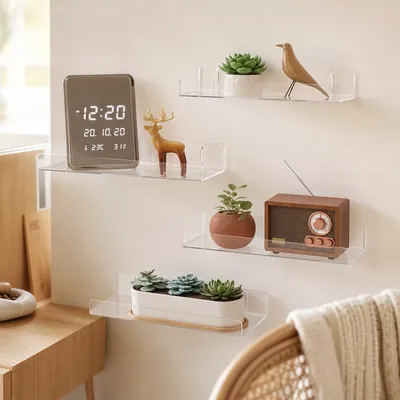
Adhesive Wall Shelves Renter Friendly
- Pros: Adhesive shelves are useful for lightweight items that benefit from being visible: toiletries, small decor, spices, or a few entryway essentials.
- Pros: No holes in the wall: peel, stick and use it the next day.
- Con: Only holds on clean, smooth, dry surfaces and light loads; cure it 24 hours before loading.
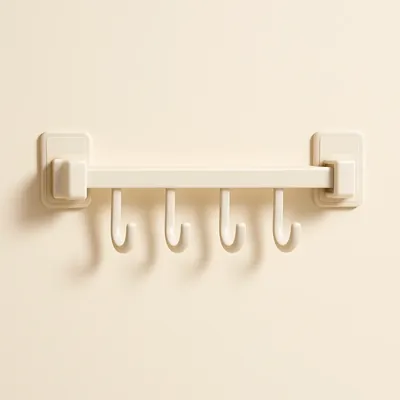
Removable hooks and rail systems
- Pros: Hooks and rails are often the most flexible no-drill choice because they use vertical space for items that are awkward to stack.
- Pros: Coats off the chair and onto the wall in the path you actually walk.
- Con: Winter coats are heavy: mount into studs or use rated anchors.
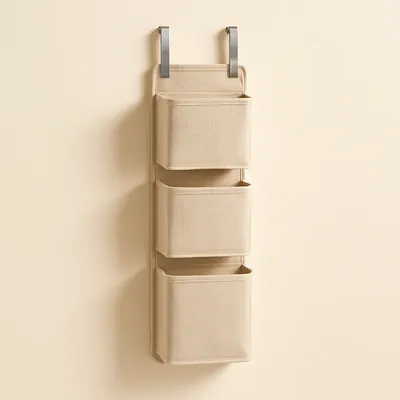
Over-the-door organizers
- Pros: Over-the-door storage avoids the wall entirely, making it a practical option when adhesive is unsuitable or a room has limited open wall area.
- Pros: No drilling and no floor space: it uses a door that was doing nothing.
- Con: Check the top-of-door clearance and the door trim; thick hooks can stop a door from closing.
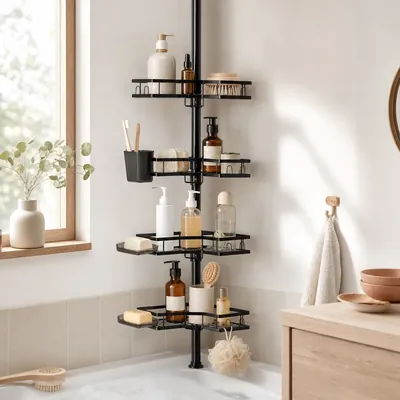
Tension-mounted shelves and poles
- Pros: Tension systems create storage between two opposing surfaces, such as inside a cabinet, shower area, closet, or narrow alcove.
- Pros: Installs without tools and adjusts to the exact width, ideal for renters.
- Con: Slips under heavy loads or on textured walls; keep the weight modest and measure wall-to-wall.
Quick comparison
| Option | Best for | Before buying |
|---|---|---|
| Adhesive Wall Shelves Renter Friendly | Best overall | Check fit and load rating |
| Removable hooks and rail systems | Best for flexibility | Check fit and load rating |
| Over-the-door organizers | Best for limited space | Check fit and load rating |
| Tension-mounted shelves and poles | Best for comparison | Check fit and load rating |
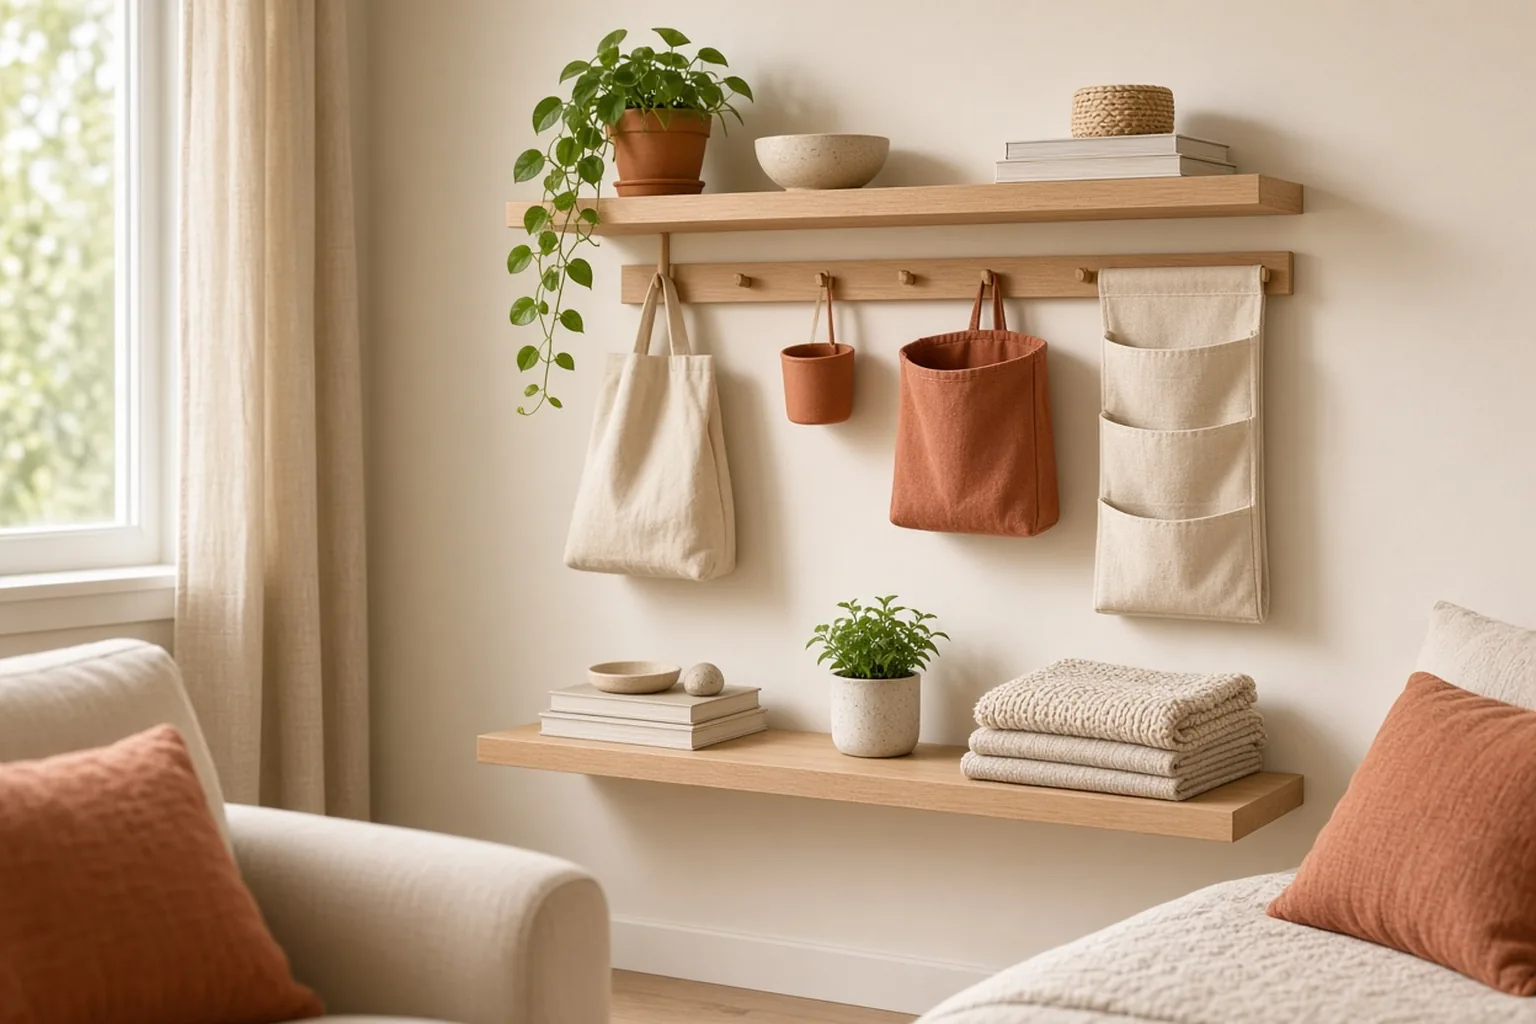
What actually matters when choosing wall-mounted storage for renters
- Surface compatibility. Check whether the mounting method is intended for painted drywall, smooth tile, glass, metal, or another surface. Textured, dusty, damp, or freshly painted areas may not provide a reliable bond.
- Realistic load capacity. Consider the combined weight of the organizer and everything you will store in it. Keep heavier items low and choose a system with a clear, comfortably sufficient capacity rather than relying on a borderline limit.
- Removal and residue. Look for removable strips, hooks, or adhesive designed to come off cleanly when used as directed. Avoid assuming that every adhesive leaves no mark, especially on delicate paint or wallpaper.
- Access and dimensions. Measure the available wall, door swing, and clearance around the installation area. A shallow organizer that keeps everyday items visible may work better than a deeper unit that creates a bump or blocks a walkway.
Our take
Start with the problem that bothers you most and choose the least complicated solution. If you only buy one thing, removable hooks are a sensible first test: they are easy to reposition, useful in many rooms, and simple to dedicate to keys or bags. Add an adhesive shelf for lightweight items only after checking the surface and measuring the area. Use over-the-door or tension storage when the wall is unsuitable or you need more capacity. Before installing anything, clean the surface as directed, follow the instructions, and photograph the empty wall to help restore the space when you move.
FAQ
What should I measure before buying?
Measure the usable width, depth, height, clearance, and the load the organizer must carry before ordering.
Which option is best for a small space?
Choose the product that solves the main bottleneck while leaving doors, walkways, and everyday access clear.
How do I avoid a return?
Check assembled dimensions, installation requirements, weight limits, and the retailer return policy before buying.
Keep reading
Related guides
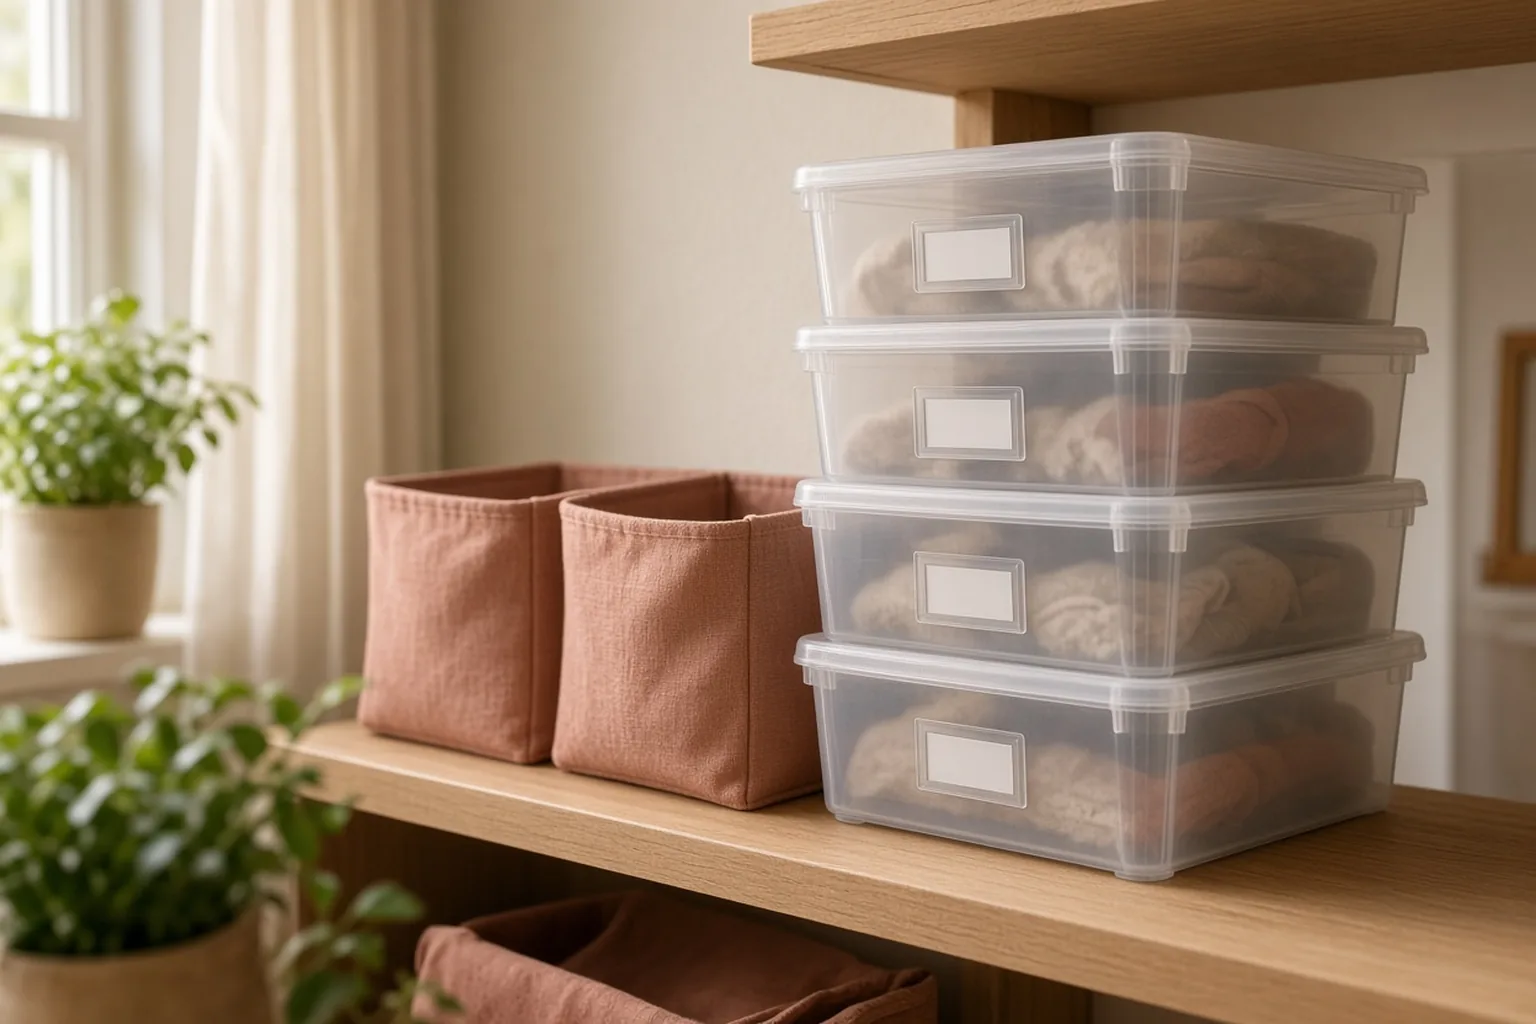
Apartment living
Best Storage Bins and Bin Systems for Small Homes
A practical guide to choosing storage bins and bin systems for small homes, with advice on size, access, stacking, and flexibility.
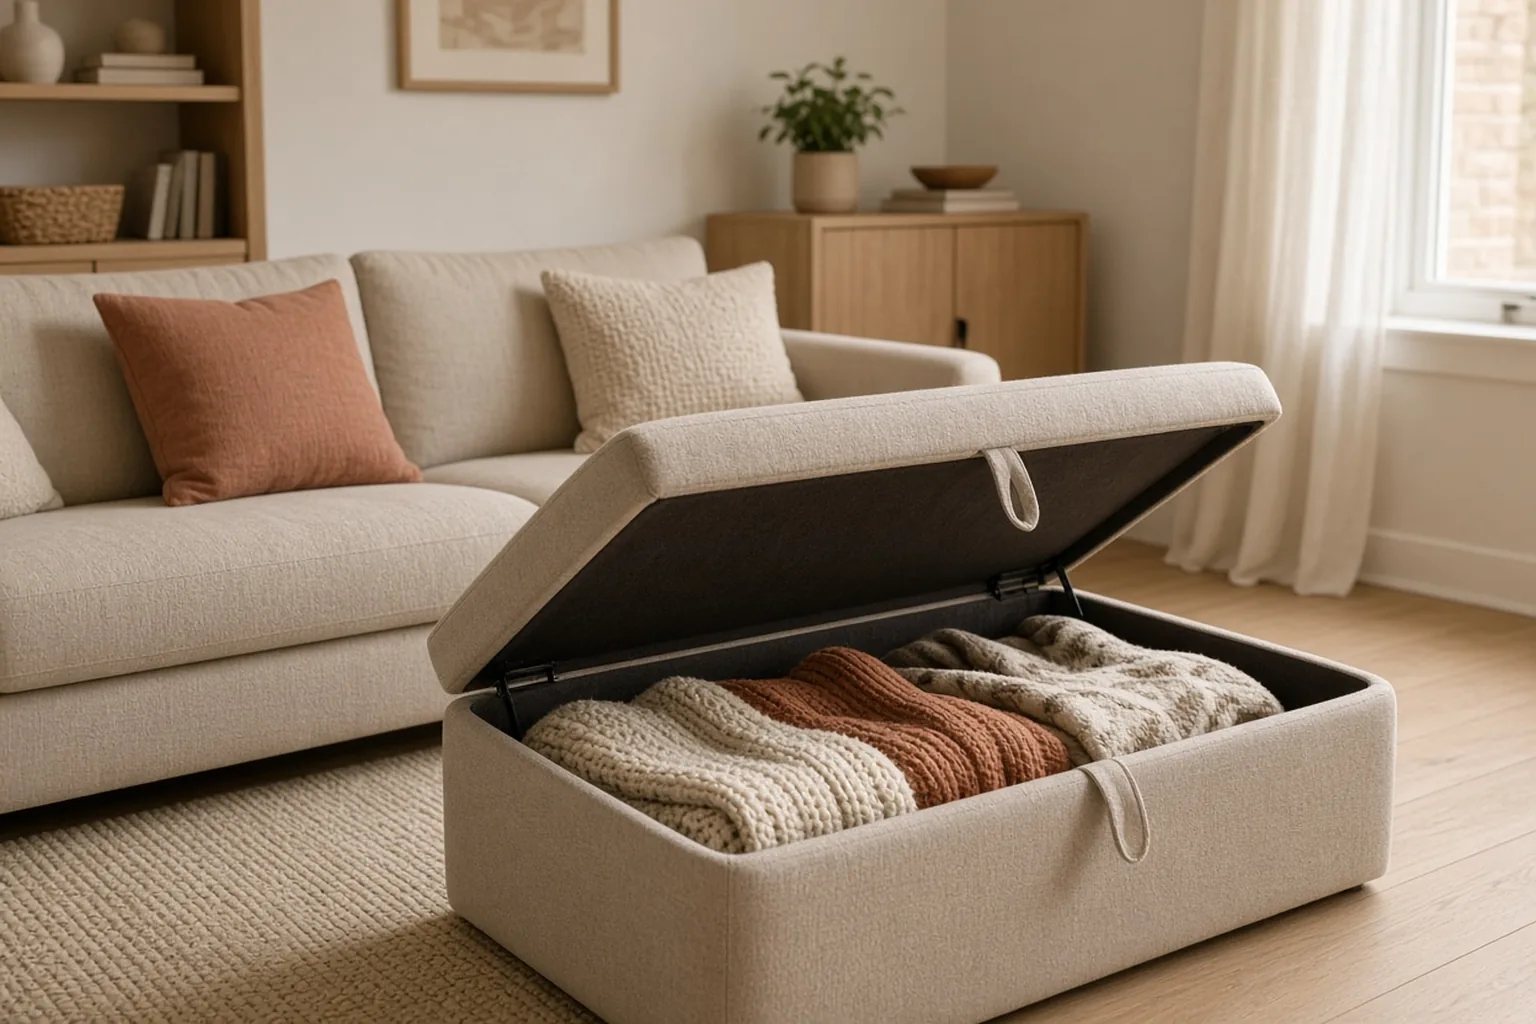
Apartment living
Best Storage Ottomans for Studio Apartments
A practical guide to choosing storage ottomans for studio apartments, with advice on size, access, materials, comfort, and layout.
Apartment living
Entryway Organization Ideas for Small Spaces
Create a useful small entryway with a landing zone, vertical hooks, shoe control, mail sorting, and renter-friendly storage.